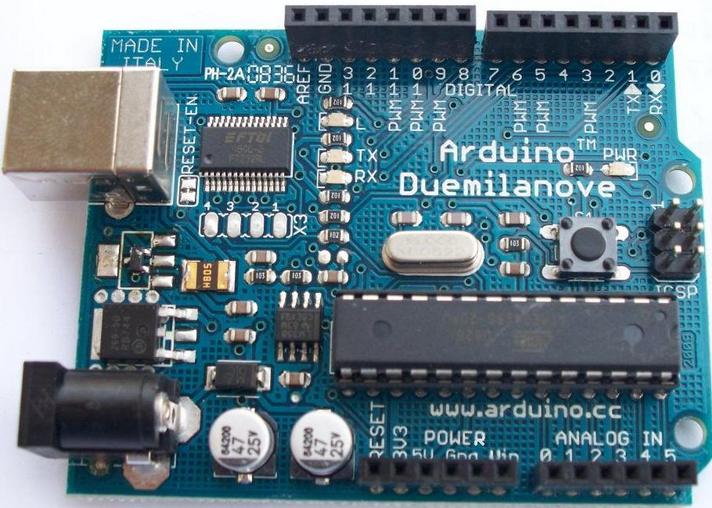
We have used Arduino boards in many of our projects. For those that do not know, Arduino is described as an open-source electronics prototyping platform and is basically a microcontroller on a preassembled board with a good selection of IO (inputs and outputs) and availability of shields (add-on circuit boards to help with internet connectivity, motor control, and much more) which can be connected. The boards have a USB socket through which code is downloaded to the board and also to enable control of devices via a PC.
Although Arduino boards are relatively cheap, starting from around £10 each (click here for best priced Arduino boards), things start to get expensive when you do multiple custom embedded projects – particularly when you are not using the majority of the features provided on the board.
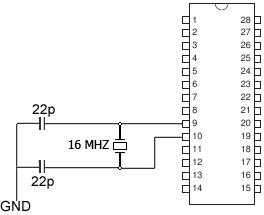
Fortunately it is possible to buy the microcontrollers which are found on the Arduino boards separately, add just a few components (a clock crystal, and a couple of capacitors), and build the rest of your project around that.
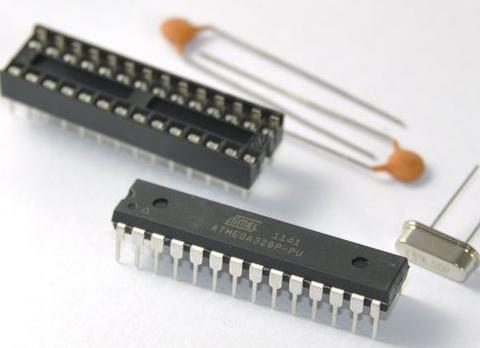
The common Arduino duemilanove board for example has an ATMEL ATmega 328 microcontroller which are easy to purchase BUT a blank microcontroller is not enough. It must have the correct Bootloader (software) on it before you can use it with the Arduino programming environment and USB connection. This is a job you can do yourself (with an ISP programmer), but for most people it will be much easier and cheaper just to purchase a kit such as the one pictured above which we use and available here for around £3 (Arduino Bootloader Kit). These have the bootloader pre-installed on the microcontroller and include a PCB socket, and the capacitors and the external 16MHz clock crystal.
Using these kits means you only need one Arduino board which you use to download your code sketches to the microcontroller. You then unplug the microcontroller from the Arduino board and plug it in on your own project board.
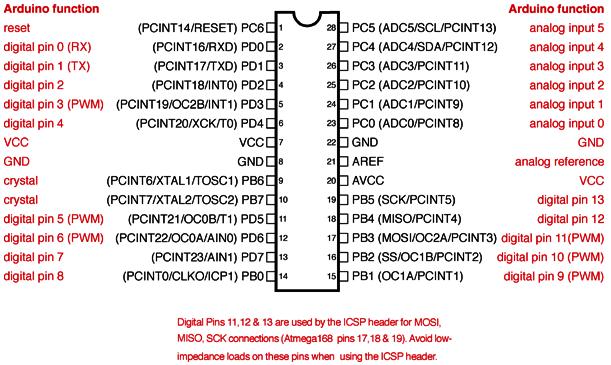
Below is the ATmega168 / ATmega328 Arduino pin mapping diagram so you know which pins on the microcontroller correspond to the inputs and outputs labelled on an Arduino board.