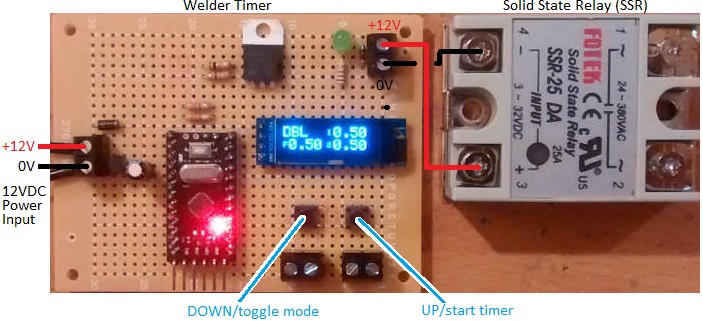
Pictured below is our popular 12VDC dual pulse spot welder timer controller which we designed, build, and sell.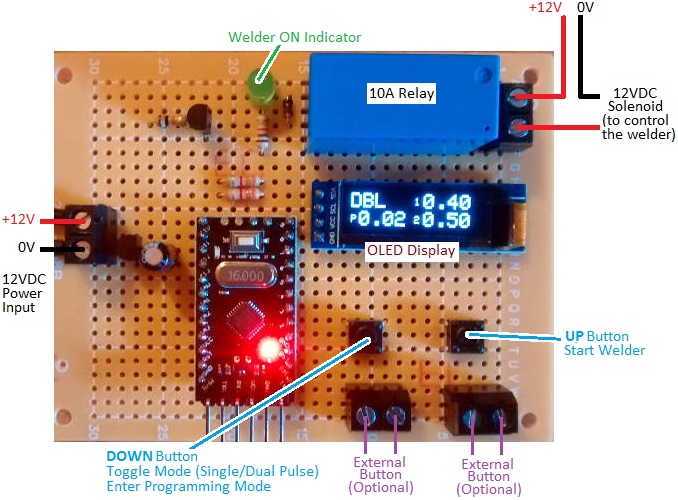
Spot welding (resistance spot welding – RSW) is used to join metal surfaces by passing a large electric current through them. Because of the heat generated by the resistance to the electric current, the contacting metals melt together forming a weld at the spot through which the current is passing.
In order to get good clean reliable welds and not to burn holes through the metal, it is essential that the pulse of electric current is of a suitable duration which depends on the types and thicknesses of the metals to be welded as well as many other factors. Therefore an accurate timer controller is required for consistent welds.
For the best spot welds, a dual pulse controller is used in which the electric current flows for a time (pre-weld), then there is a brief pause, and then electric current flows again (welding). The first pulse clears away any plating or surface oxidation, and then the second pulse welds the now clean base materials together. Using a dual pulse welder also reduces spitting.
REUK Dual Pulse Spot Welder Controller
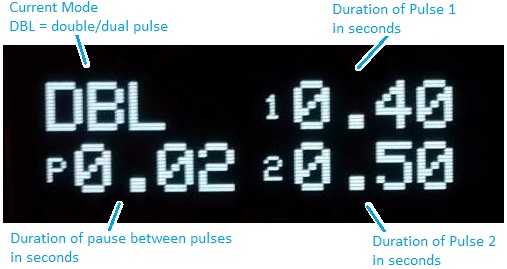
Our controller offers two modes of operation: single pulse mode and dual/double pulse mode. Pictured below is a view of the built in OLED display when in dual pulse mode.
The user can set the durations of Pulse 1, the pause time, and Pulse 2 in 0.01 second steps between 0.01 and 1.99 seconds.
In single pulse mode, the duration of just one pulse has to be set by the user. (A future update of this device will probably include up to 10 user-programmable presets for increased convenience.)
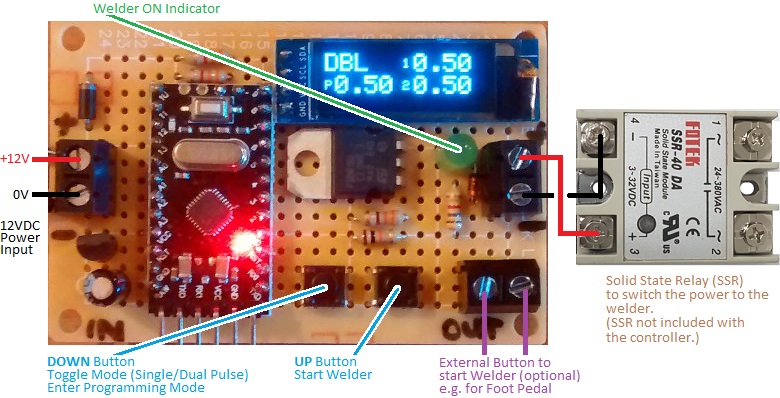
On board buttons are provided for toggling between the single and double pulse modes, entering programming mode to set the timings, and making a spot weld with the displayed settings. Screw in terminals are provided so that external buttons can be connected – for example a foot pedal to make a weld with your hands free.
This version of the welder controller is fitted with a 10A relay which can be used to power a < 5A rated solenoid which in turn switches the welder.
Buy a Welder Timer Controller for Your Relay
For any type of welder timer controller, please email neil@reuk.co.uk with details of any special requirements. Our controller as described above is available at £21.95 plus postage.
If you require a timer which will be switching more than 10 Amps of current for your welding setup, then we also make the alternative devices pictured below which have a 1 Amp 12V output for connection to your own solid state relay (SSR) or mechanical relay. These are available for £19.95 plus postage – no relay included. Click here for a source of solid state relays.
If you require a bespoke device which pulses the welder with very brief times and higher time resolution – e.g. 0.001s – 1.999s instead of 0.01-1.99s – we can modify the above photographed timer controller…but only for use with a solid state relay (since SSRs can switch in 1ms (0.001s) rather than the 10’s of milliseconds it can potentially take a mechanical relay to switch). Contact us with details of your specific requirements for a quotation.
Dual Pulse Spot Welder Timer Instructions
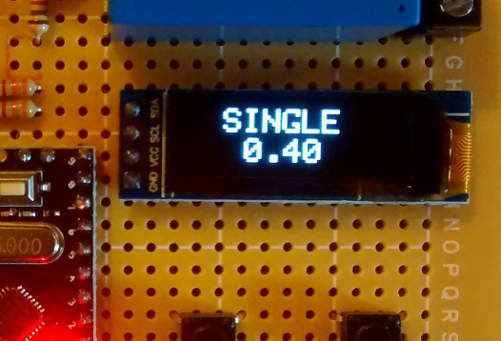
There are two buttons on the controller. If you press the ‘down’ button, you can toggle between single pulse and dual/double pulse operation. The display will change to show which mode you are in: SINGLE or DBL (double) as well as showing the durations currently programmed into the device.
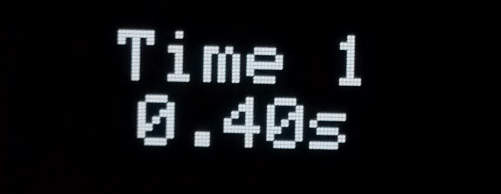
If you press and hold the down button for more than one second, the display will show SET TIMERS. If you are in single pulse mode, you can now set the single pulse duration. If you are in double pulse mode you can now set the durations of pulse 1, the pause time, and pulse 2. The top line of the display will show what is currently being programmed (Time 1, Pause Time, or Time 2), and the bottom line will show the current value. Use the up and down buttons to increase or decrease the displayed value (within the range 0.01s to 0.99s). Five seconds after you last touched a button, the top line of the display will show -SAVED- and the value will be saved in long term memory (still available the next time you power on the controller). If you are in double pulse mode, you will now be asked to set the pause time and the duration of the second pulse in exactly the same way that Time 1 was set. (When using the up and down buttons to increase or decrease a time value, you can press and hold the button to move faster through the numbers.)
If you press the up button, the controller will run. The relay will close for the duration of Time 1 and then open again. If you are in double pulse mode, it will then remain open for the duration of Pause Time and then close for the duration of Time 2.
In addition to the buttons on the controller board itself, screw in terminals are provided to which you can connect external buttons of your choosing – e.g. a foot pedal operated button, or a larger hand operated button etc for your own convenience.
